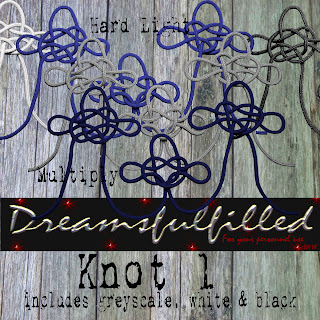
Knot 1. This lesson will work on any solid color object, but you would change it to grey scale first, by clicking Enhance> adjust color> remove color. Sometimes you would like to use an element, but it's the wrong color, or you would like a different color than in a kit. I have been stressing the importance of learning to use templates, and today you are going to make a very simple one. The knot is provided in grey, white and black.
- Open the grey scale knot.
- Make a new layer, click Layer>new layer.
- Click Layer> group with previous. (or crtl+g)
- Now pick the color you would like and pick the bucket and fill with the color.
- It is solid and you can't really see the cord, so in the preview, shown is 2 variations. In the layers palette, click hard light for an exact color match, multiply will darken the color. You can play with all the available effects, just to get a feel for what they do. Have fun.

thank you very much:)
ReplyDeleteSUCH coolness! One of the things I've most wanted to know is how to keep an items texture while grouping it with another color, overlay, or paper. Any idea WHY hard light and darken bring out the underlying texture?
ReplyDeleteI mean, an "item's" texture. Sorry. My kids are practicing doctor's visits on me, and I'm currently undergoing the shots and eye-exam part of the visit. LOL.
ReplyDeleteThank you so much for this Freebie. I want to let you know that I posted a link to your blog in Creative Busy Hands Scrapbook Freebies Search List, under the Elements or Papers post on Jul. 10, 2009. Thanks again.
ReplyDeleteSuch a great nugget of info. And oh so helpful. I won't even embarass myself and tell you how I had been trying to do this before. :)
ReplyDelete