On Track. Hello to our new friends! The link seems to work alright for the Dusty Trails Kit, so try again. I have a list of things to work on, so I'll add your extreme sports idea to it, Dee. Oh I thought I'd let you know, that the comment system has gotten rid of all those nasty, vile people. They wasted their time for awhile, but google also has a spam filter now, so even I don't have to read the trash. Yeah for technology!
Locate the password on the right in the Terms of Use. Have fun.
Digital Scrapbooking, Free Digital Scrapbooking Kits, Photoshop Lessons, Tips on Layouts,
Search Engine
Custom Search
Friday, October 1, 2010
Wednesday, September 29, 2010
Library Card Journaling
Library Card Journaling. Thanks so much for the nice comments. You are welcome Kim, I add farm elements from time to time. The links that were reported seem to work for the last few days. I'm glad you like the new background. Since I see it everyday, a fresh look now and then is nice for me too. Leanne, I tried to find your layouts, without success. If you leave (or email) a direct link, I'll pop over and see them. Does this paper look different to you? It's out of the Old School kit. The grunge paper was layered with the paisley (set at overlay)...just prodding you to play a bit.
- Now there are 4 files included, 2 different library cards and the pocket and the front piece.
- Drag the full size pocket into your layout. Now drag the front piece and align it over the full size piece. IF YOU WOULD like you can duplicate the layer of the pocket, click on the bottom layer and erase the tab portion of the pocket. I did this for some of our friends that are newer. It is how you learn.
- Drag a library card into the layout. If you would like to add text, do it now and lock the card and text layers, merge linked.
- Now you can arrange and rotate the card inside the pocket. If it is set deep into the pocket, erase any part that shows beyond the pocket sides and bottom.
- Click Layer>Merge Visible.
Tuesday, September 28, 2010
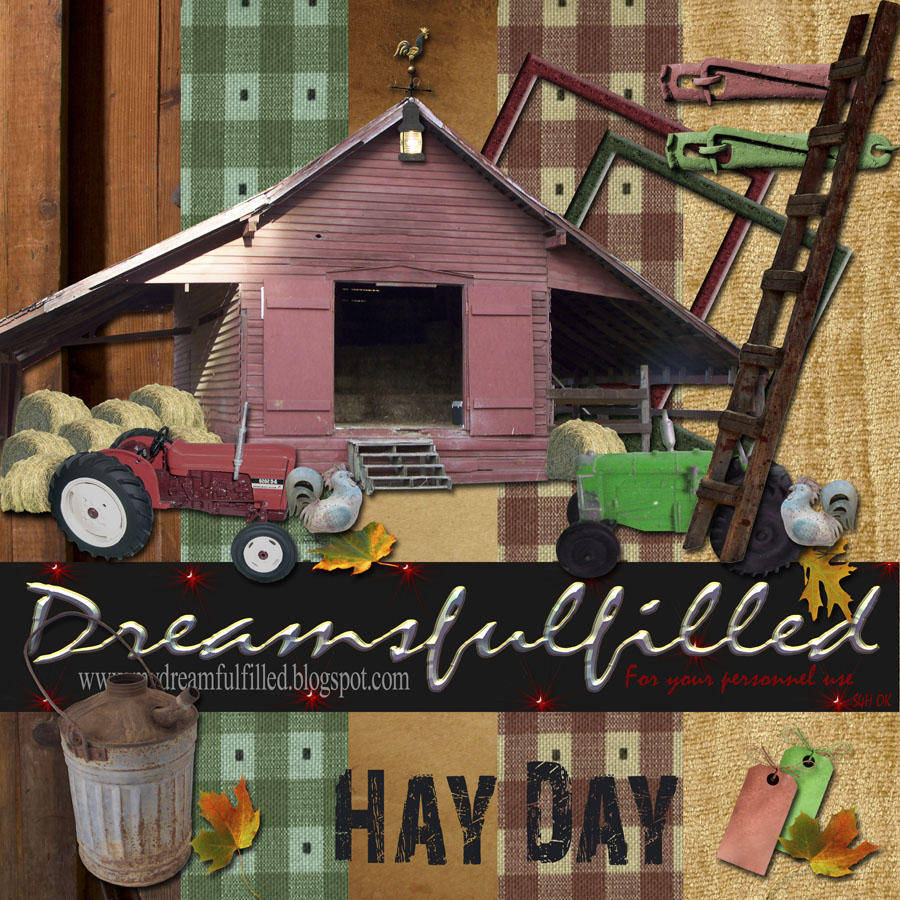
Hay Day
Hay Day. At the time my aunt was watching her only grandchild, so after lunch we would take her with us providing her with time to get some of her chores done. The cooking, cleaning and laundry for the dozen children residing in her house for the summer must have been quit a chore. Since it was the hottest part of the day, less strenuous activities filled our afternoons. Some days we would help with the laundry, other days the cream would be churned for butter or we head off for the blueberry patch to fill our bellies as we picked. Other days we'd saddle the horses and head over to drag another cousin "home", or just spend the afternoon riding.
About the time my uncle came home from work, it was off to the barn to milk and feeding the cows again. The one cow who had to be milked by hand, had a young calf who had to be bottle feed. We took very good care of him and he grew quite well over the summer. In for dinner and off to the hay fields again. We would work until dark, or if rain was forecast, until it was all in the barn safe from the weather. Now it sounds like nothing but work, yet we returned every summer willingly. I'm not sure you could get me in a hay field today (maybe if I was promised the driving), but we were all working together, talking, laughing and having fun.
Monday, September 27, 2010
Haying
Every summer we went to visit my aunt's house, but my mother would say "earn your keep". My uncle would wake us up at 5 am to have breakfast and than off to feed the cows. The dairy cows were far more work than the beef cows. After getting them into the barn and feeding them, the milking began. Luckily for us that he had machines, although there was the one cow which needed milked by hand. The barn would then need to be cleaned, and trust me all those cow's make quite the mess. Now while it's still cool, the tractor and trailer are off to the field that's been mowed and baled. We would put the youngest kid on the tractor to drive, and the rest of us kids would be on the trailer stacking or in the field throwing up the 50 or 90 lb. bales. It's 11 am and time to head in for lunch. The day has just began. I'll finish this story tomarrow.
Thursday, September 23, 2010
Paper Template
Paper Template. I seldom add these types of papers to kits because the file size is so much larger. The grey paper shown is changed by the same color and selecting different layer styles (as shown). There are far more to choose from, play with them all. You can also use prints, you'll have to just experiment with the layer styles until you have achieved the desired look. Your more likely to be happy with an older looking paper, than something that is bright. It is old paper. Have fun...
Tuesday, September 21, 2010
Layouts
Today we are talking a little bit about layouts. The most important rule is...Only you have to like the finished page. Start by selecting the photo's that you would like to use. Open a new document, 12x12, and dragging your photo's into the layout. Start arranging them in the configuration you think will highlight the photographs. At this point I'd just like to point out that there are page templates available that can be extremely helpful, if you are new. If you will select a template in which you like the position of the photograph, you should be pleased with the results. A grid can be very helpful in determining the position on the page. This is a 12 in square grid, every 4 in. a line is drawn vertically and horizontally. Unless you are trying to do a blocked layout, the main focal point of the photo should be placed where the planes intersect. This is a natural point where your eye is drawn. REMEMBER ALL RULES can be broken.

Click on the background layer and drag a paper into the layout, and this paper should make your photo's stand out. If not select another until you achieve the effect you would like. Obviously a child's birthday party and a heritage layout would require a different mood. Set the mood. I have made the page we are going to discuss into a template so that you can more easily do the layout. The layout isn't as important today, as the reason's why it is put together this way. The following 2 layouts show how 2 very similar page could be made. The first has a mat behind the circle and an arrow drawing attention to one of the secondary photographs. The second Layout replaces the matting circle with brads and removes the arrow.
The third image is the second layout with the elements placed in a slightly different position on the page. I selected layout #2. Removing the matting and replacing it with brads offers move movement to the eye and opens up the layout to have slightly more "white" space, for the eye to rest. For the same reason the arrow was removed. Really you could be pleased with both layouts, so it's not about one being wrong and another being right. All the elements of the page feel connected, even though they are not. The nice thing about using a page template is that all the layers are separate. So even if it's covered in flowers, you can replace all the flowers with other embellishments, and still learn how to layout out your pictures. Quick pages are always finished and none of the embellishments can be moved. If you would like to use this template. To achieve the look of the 3rd preview Lock all the pieces of the circle together and the brad layer and rotate them 180 degrees. Lock the pieces for the main photo together and move them. The unlock the darkest piece and this I moved slightly off the page. And a peak at my page. I haven't decided if I like the background yet, so I'll just put off printing. Have fun.
Saturday, September 18, 2010
Old School
Old School. Thanks so much for the nice comments, I am grateful to be appreciated. Part 2 tomorrow. IF I can put together and outline this afternoon than next week I add some instruction on composing pages. A little extra help for those that are new to Scrapbooking, and some tips for the rest of us, who become stumped from time to time.
Subscribe to:
Posts (Atom)