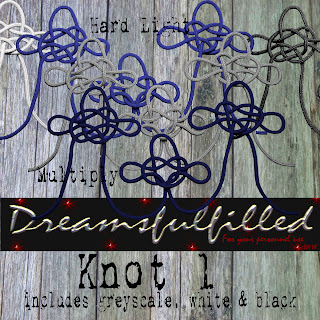
Knot 1. This lesson will work on any solid color object, but you would change it to grey scale first, by clicking Enhance> adjust color> remove color. Sometimes you would like to use an element, but it's the wrong color, or you would like a different color than in a kit. I have been stressing the importance of learning to use templates, and today you are going to make a very simple one. The knot is provided in grey, white and black.
- Open the grey scale knot.
- Make a new layer, click Layer>new layer.
- Click Layer> group with previous. (or crtl+g)
- Now pick the color you would like and pick the bucket and fill with the color.
- It is solid and you can't really see the cord, so in the preview, shown is 2 variations. In the layers palette, click hard light for an exact color match, multiply will darken the color. You can play with all the available effects, just to get a feel for what they do. Have fun.


