Hello Red Shoes, I'm glad to see your still scrapbooking.
Digital Scrapbooking, Free Digital Scrapbooking Kits, Photoshop Lessons, Tips on Layouts,
Saturday, September 26, 2009
Wednesday, September 23, 2009
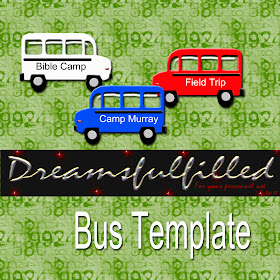
Bus Template
Bus Template. I was thinking that there could be some other uses for this. It is just the Template.
- You add the color (or ?) in one layer.
- Click on the Text Layer, highlight the type, pick the color you want, and retype your phrase.
- IMPORTANT!! You must decide which direction you want the bus in your layout. If you would like it turned. Click Image& Rotate& Flip layer horizontal. Than add your text, in a new layer. You can't rotate text.
- When you are finished click Layer& merge visible. And drag into your layout. Have Fun.
Tuesday, September 22, 2009
Rolled Paper Template #6
Rolled Paper Template #6. This is a 2 layer template, so that you can "tuck" anything under the edge. Open the template.
- Fill the mark layers with color or paper. If you are filling with paper click on the background layer and then drag the paper into the template. Click on the empty layer above it, you will see the setting (I think it was hard light). On the paper that you dragged in change the setting.
- Click on the layer marked fill with color directly above the background layer, and now drag your photo's or ? into the template. Position and size, add a drop shadow.
- Now click Layer>merge visible. And you can drag it into your layout. Have fun.
Monday, September 21, 2009
Plan Ahead
There is no text on the bottle or paste elements, so that you can personalize them with what you'd like. Remember in order to fit the text on the bottle as I did, type in short lines to re size into the space. Or each word in a separate layer. After you do it a few times it'll become easier to determine how many words in each line you need.